christmas gift wrapping with goodwill goods

Gift-Wrapping with Goodwill // high plains thrifter

They say presentation is everything, and when it comes to Christmas gift wrapping, that old adage rings especially true. Instead of looking at wrapping presents as a chore, I like to think of it as an extension of the gift-giving ritual…an opportunity to put even a little more love into the gift, in addition to flexing a little creative muscle.

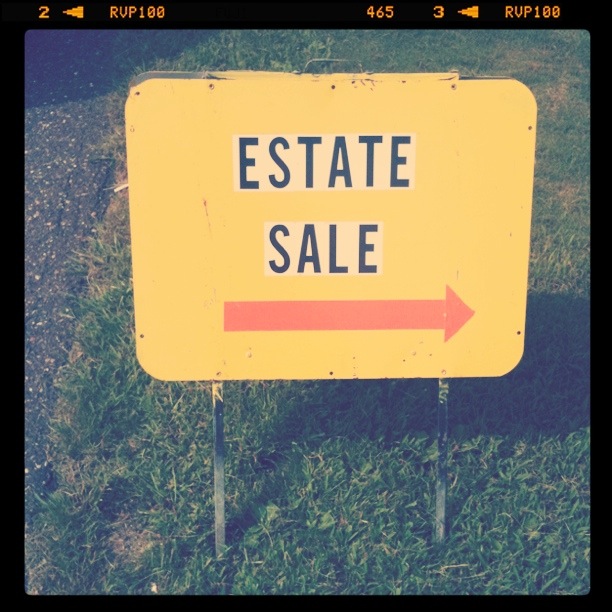
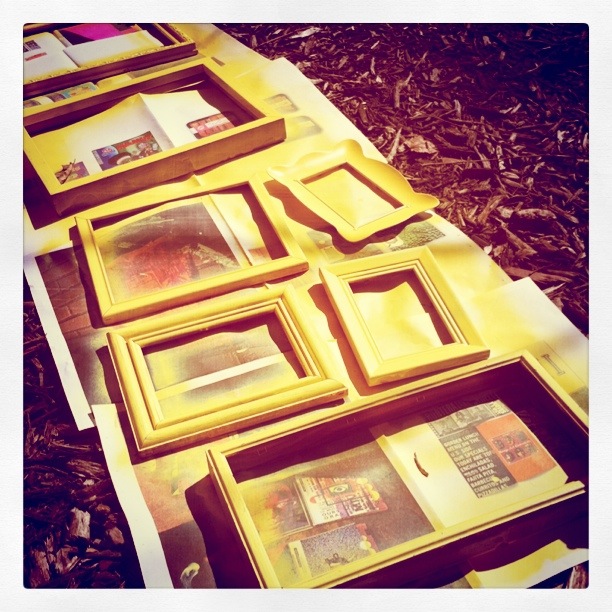
When the holidays start creeping on the horizon, I make a point to look for wrapping supplies during each and every trip to the thrift-store. There’s always an abundance of fun stuff to play with (in both the craft section and holiday aisles), and by shopping second-hand, I know that I’m not only saving money, but that my gift-giving presentations are going to be one-of-a-kind. To bulk up your wrapping stash on a dime, keep your eyes open for…

BASICS

Wrapping paper: I have a soft spot for vintage paper, but most thrift stores will also have brand new rolls in stock. (Also keep on the lookout for old maps or mags, both of which make for great wrapping paper!)

Boxes: Craft-paper, plain or blinged-out, decorative gift boxes, you’ll find it all.

Gift bags: Good to have on hand, always. I like to my eyes open for wine bags, as I’m frequently toting bottles to dinner parties and it feels more special when presented in a bag.

Jars: Perfect for edible treats, reusable jars are a staple in my gift-wrapping routine.

Ribbon: Fabric, metallic, raffia, paper, yarn, vintage…pick up a few different kinds so you can mix, match and layer.

Fabric: My go-to for wrapping odd-sized presents.

EXTRAS

Ornaments: Fabulous present-toppers and can also be a memorable part of the present.

Jingle bells: Cute to look at, easy to attach and oh-so-very festive!

Tinsel garlands: A glittery stand-in for ribbon.

Bows: Big or small, bows add a sweet finishing touch. I look for multi-packs of the twist-tie velvet bows, as they attach to gifts quickly and easily.

Doilies: Any size and any color!

Pom-poms

Gift tags

Rubber stamps

In need of a some visual inspiration? Here are a few ideas for presentations that’ll make your packages stand out under the tree, using materials thrifted at area Goodwill stores!

From cocoa to cookie mix, who can resist a tasty treat packaged up in an adorable jar? The addition of jingle bells, tied on with twine, takes this patterned canning jar from everyday ho-hum to stocking-ready in mere minutes.

Gift-Wrapping with Goodwill // high plains thrifter

Layered gifts, like this mix for oatmeal-chocolate chip cookies, look lovely in tall jars. A Christmas-light ornament, homemade pom-pom and candy-cane colored washi-tape tagged card add a home-y touch.

Gift-Wrapping with Goodwill // high plains thrifter

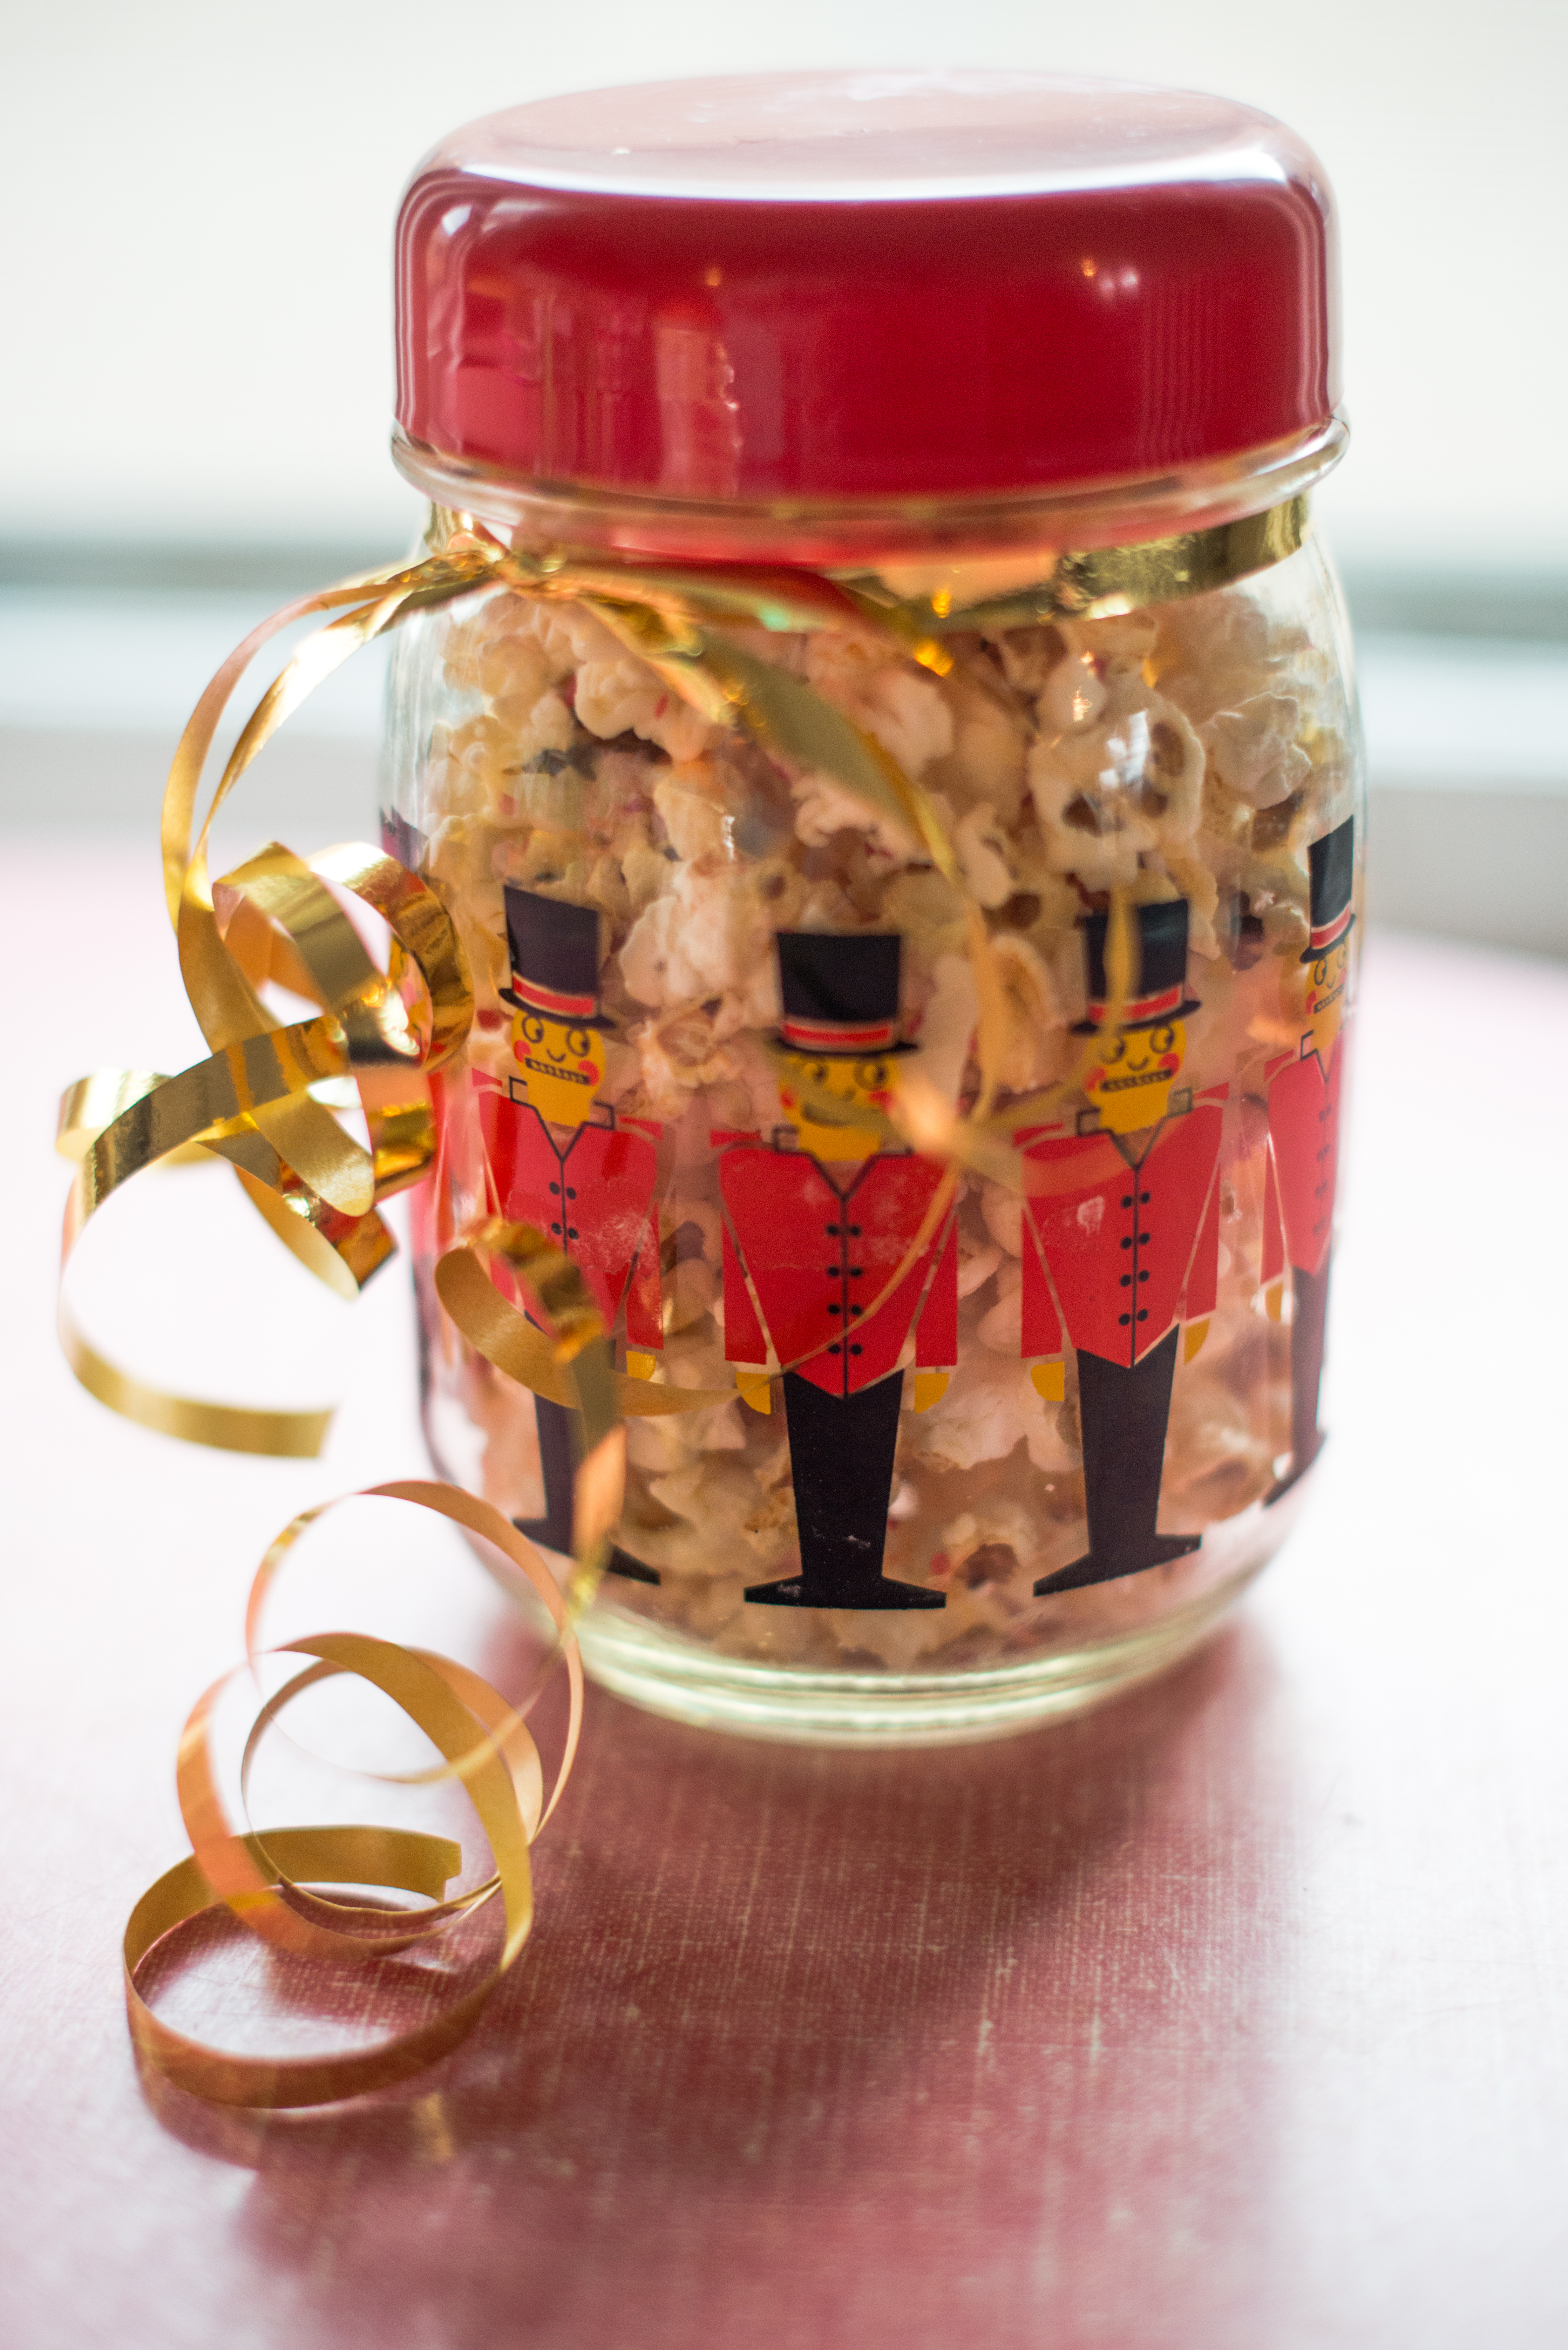
Goodwill is stocked with many holiday themed jars and tins too. All this baby needed was a curlicued ribbon to make it pop.

Gift-Wrapping with Goodwill // high plains thrifter

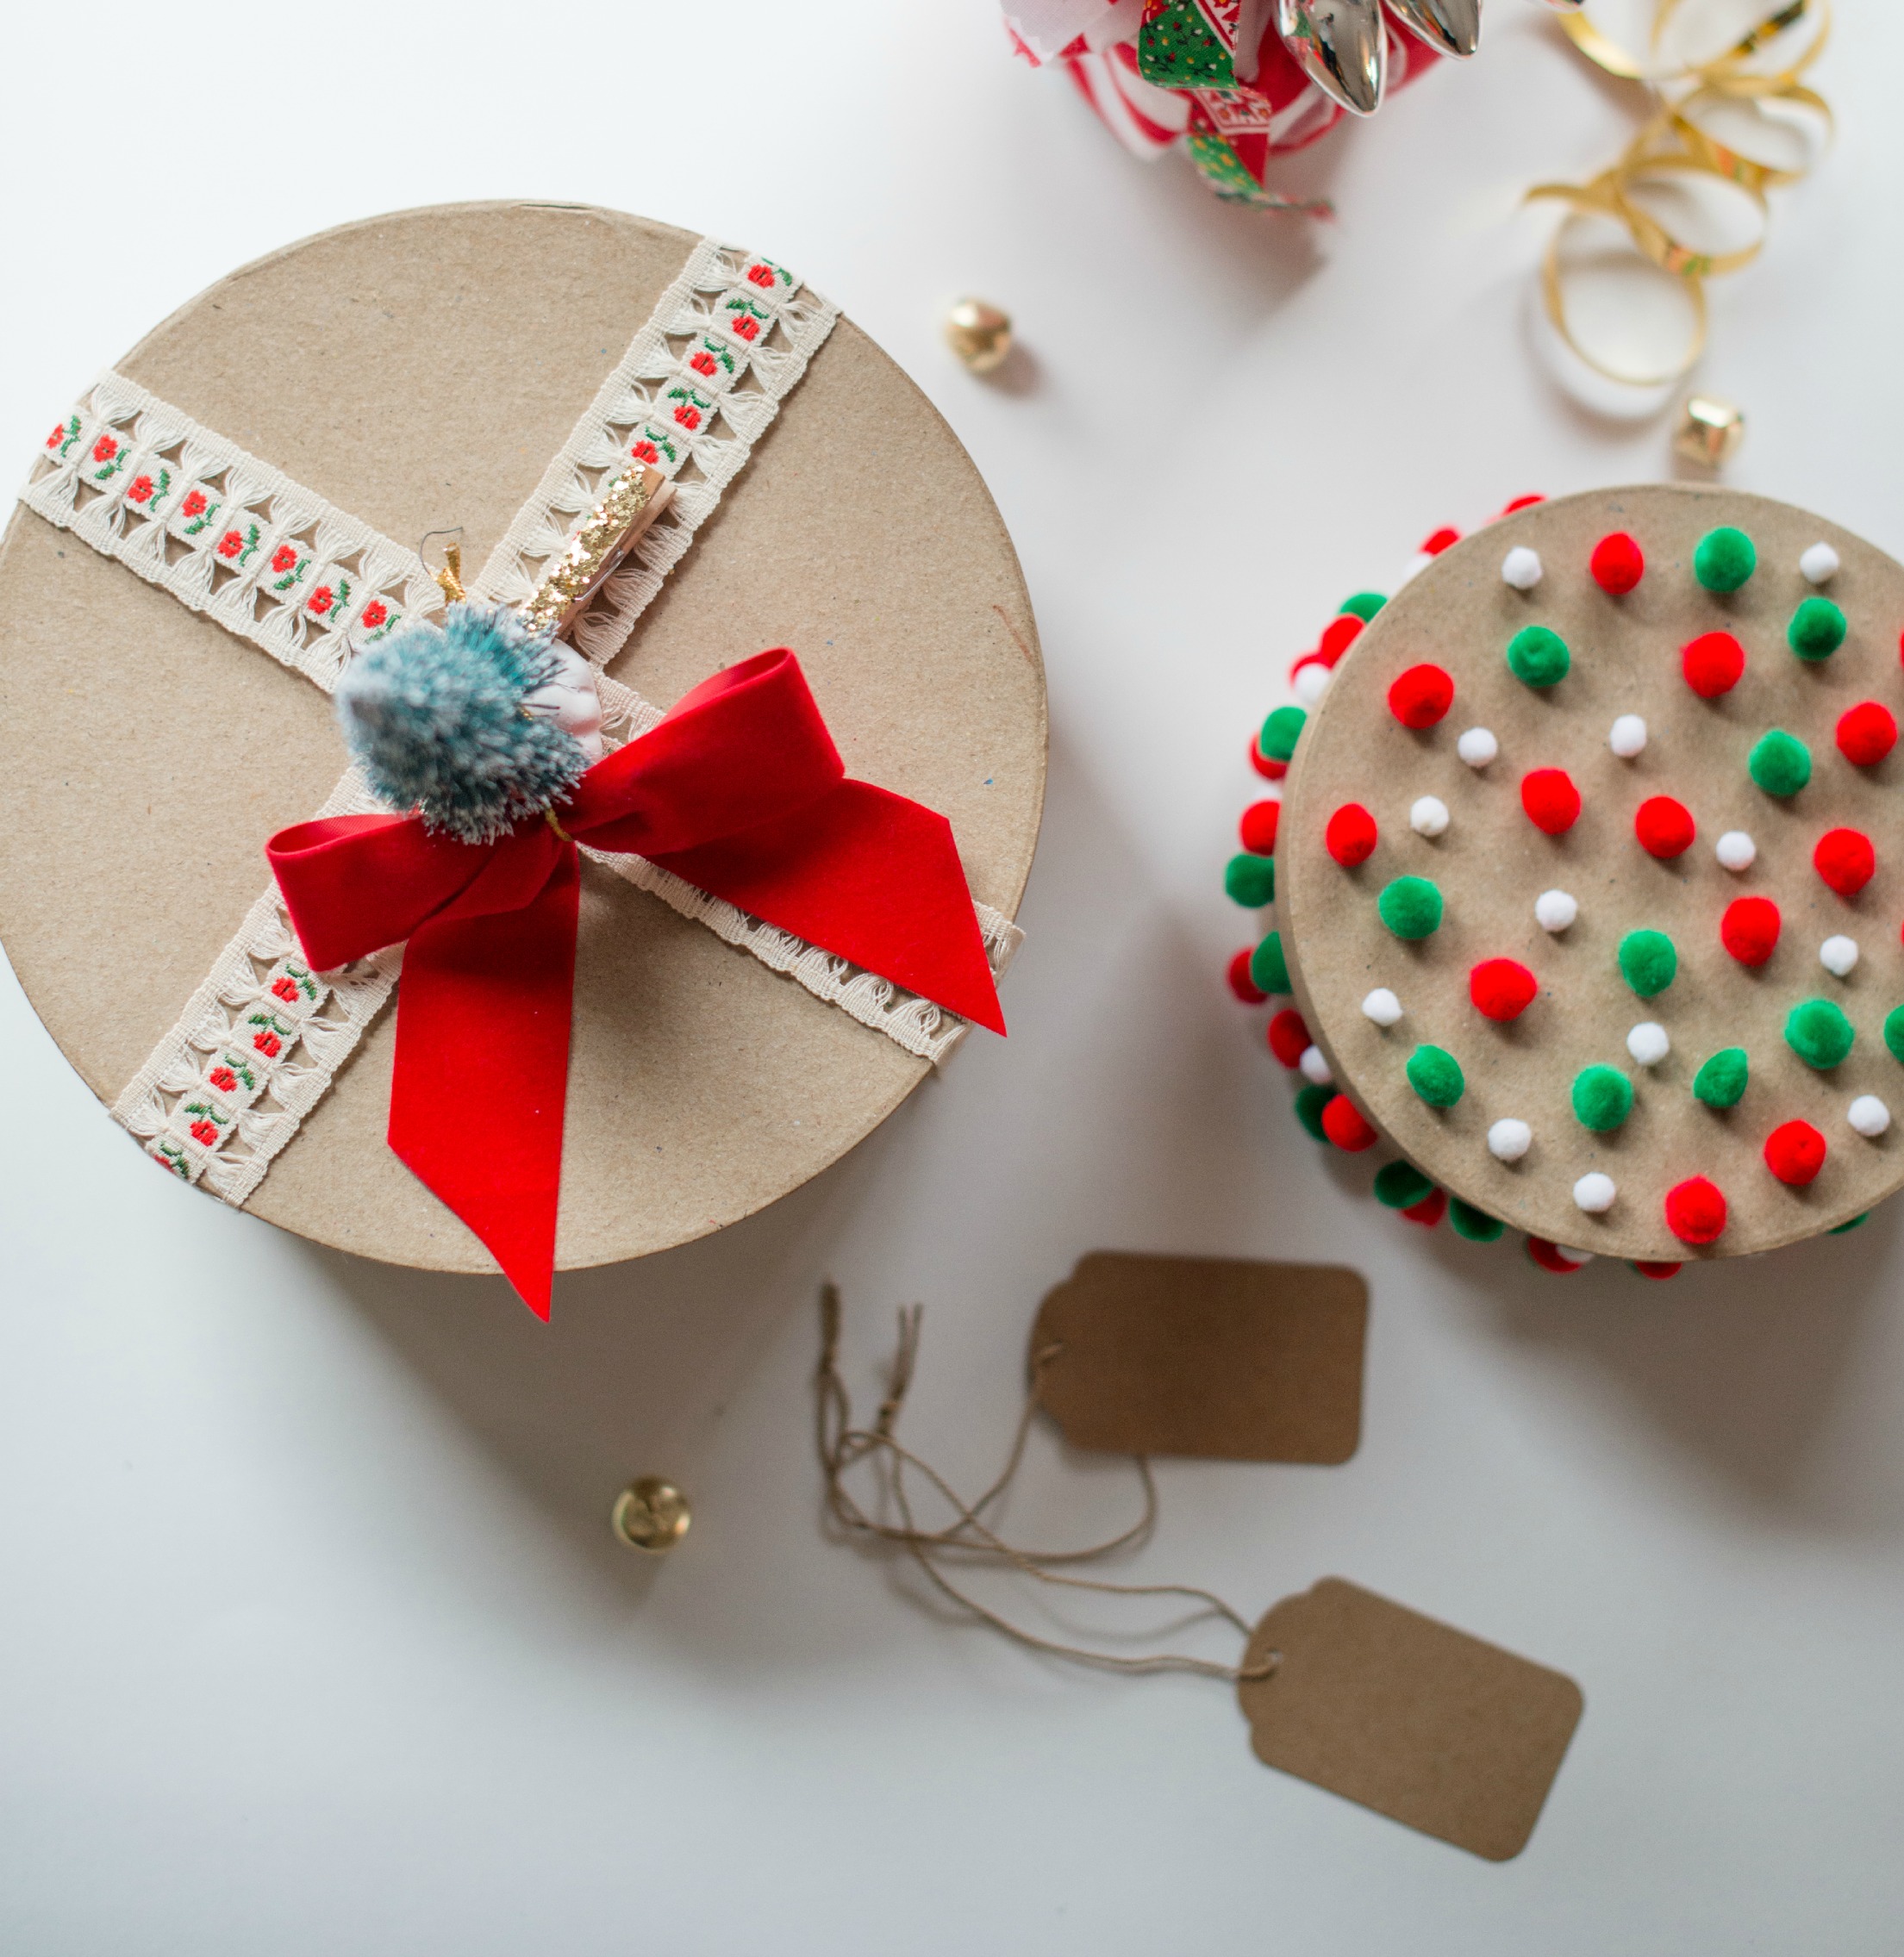
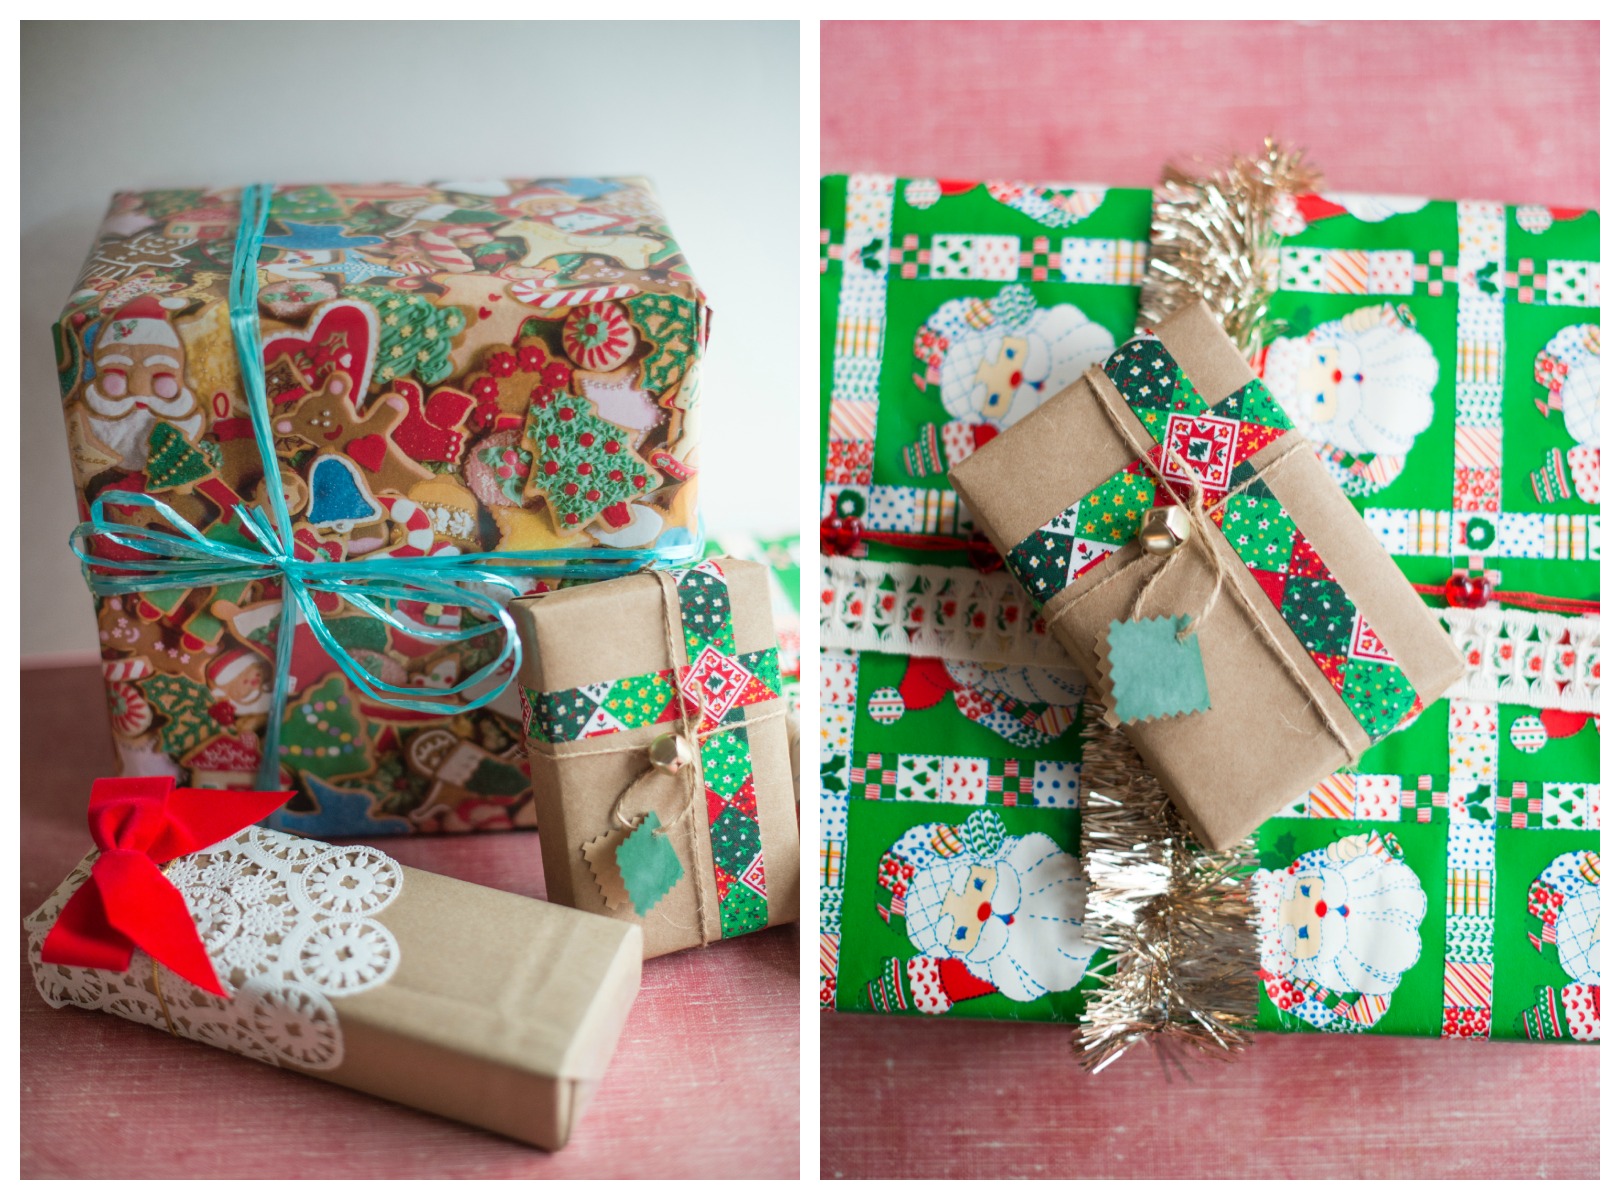
Brown craft-paper boxes are blank slates when it comes to packaging. I used craft glue to affix red, green and white pom-poms (another craft section find) to the small box on the right, while the larger one got topped with vintage ribbon and a bottle-brush tree, clipped in place with a glittery mini clothespin. So easy!

Gift-Wrapping with Goodwill // high plains thrifter

Hate wrapping paper? Switch things up and wrap a few presents in fabric this year! I used a vintage scarf and tinsel garland to doll up the package on the left. (Recipients can choose to wear or display the scarf, depending on their style.) On the right, a bit of scrap fabric, edged with pinking shears, tied shut with vintage ribbon (and more ornaments!) secures this package.

Gift-Wrapping with Goodwill // high plains thrifter

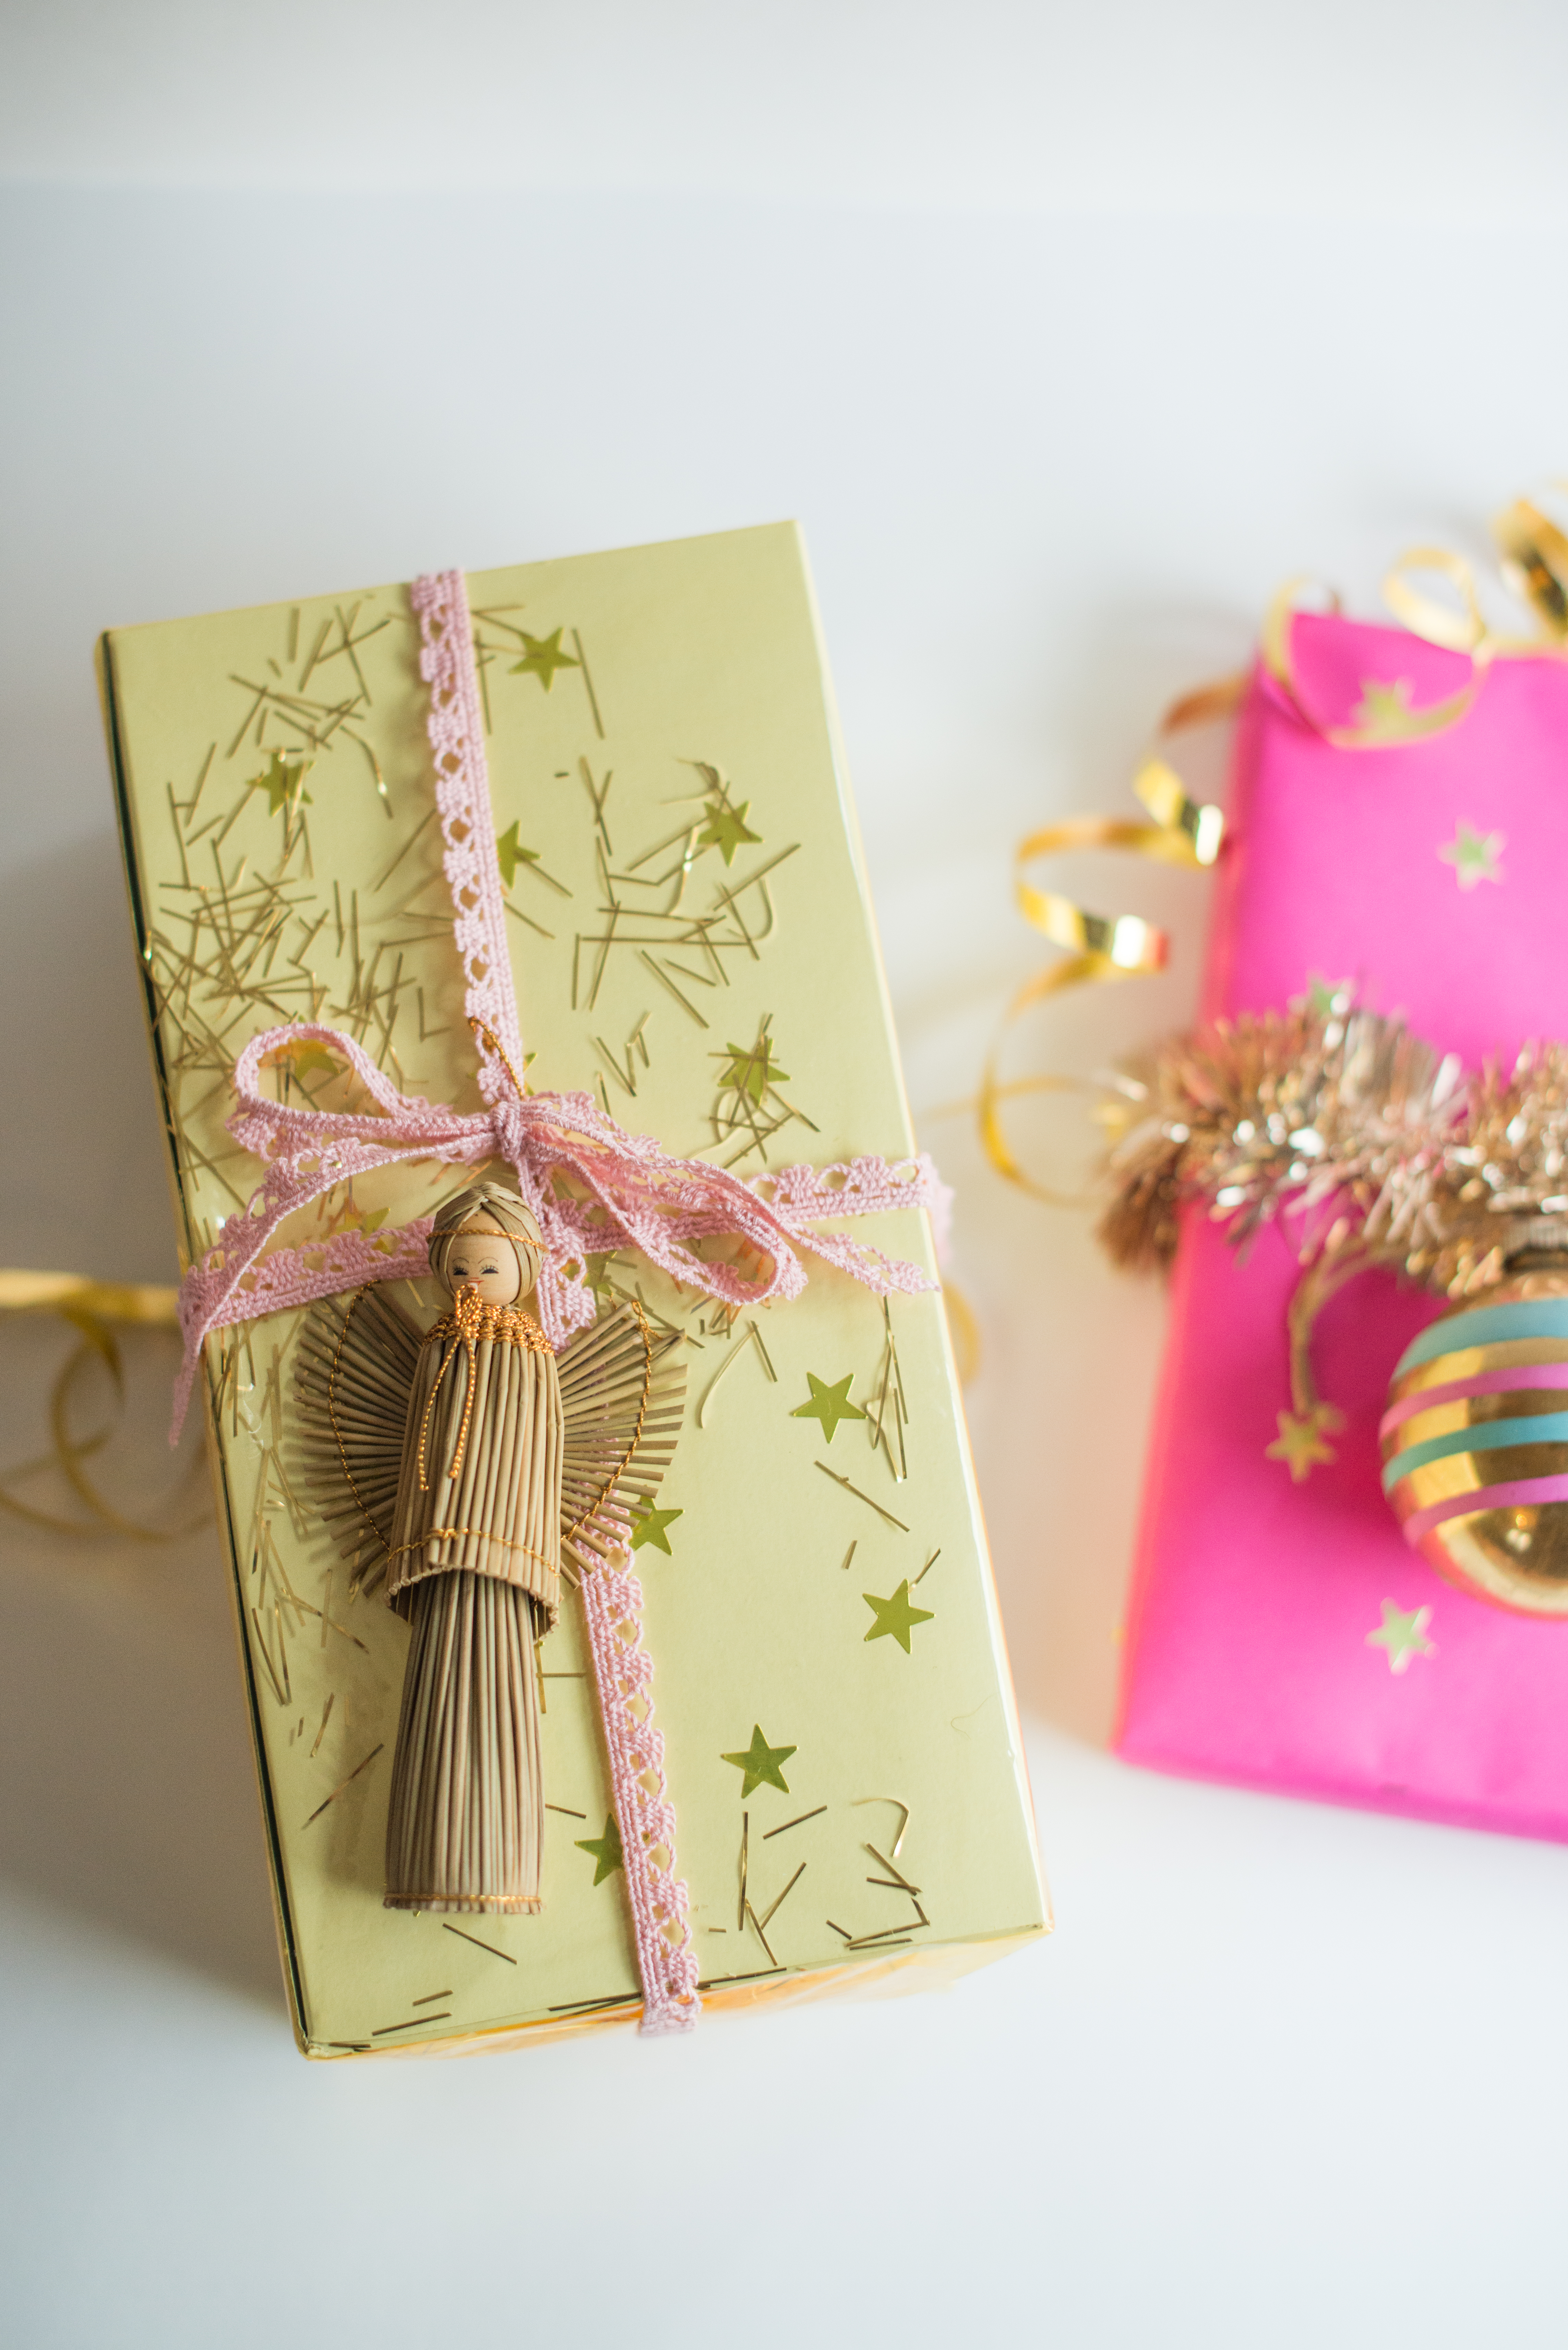
When I found some plain, white, flat-packed gift boxes, I knew they had big potential. I embellished the box on the right with gold star stickers, and then followed this tutorial from Mineco for the wrapping, using tinsel-trimmings and yellow gold cellophane, for a suspended confetti kind of look. Fun right?

Gift-Wrapping with Goodwill // high plains thrifter

Bells and whistles aside, sometimes a roll or two of festive wrapping paper is all you need to get the job done. I was so charmed by the vintage cookie and Santa papers, I snatched them up in October! The brown packages are grocery bags turned inside out, finished off with a paper doily, velvet bow and vintage ribbon. Affordable, easy and oh-so-pretty!

Photos by Julia McMahon // LB Jeffries

Photos by: Julia McMahon // LB Jeffries Photography

Have you hit the thrift for wrapping supplies? If you haven’t before, I hope you’re feeling inspired to give it a try now! For more pretty gift-wrapping inspiration, head on over to my Pretty Packaging pin-board, where I save my favorite ideas for Christmas and beyond.

xoxo,

Meghan

A version of this post first appeared on the Goodwill / Easter Seals Minnesota blog.

how to: remove red lipstick stains from clothing

tumblr_lzuuf2GRrJ1rq17yxo1_500As someone who considers herself having pretty good luck, I sometimes find myself completely and dramatically devastated when that aforementioned luck runs out. Take last month for example, when I loaded my washing machine plumb-full of vintage dresses, beloved cream tights and my go-everywhere denim jacket, which, unbeknownst to me, had a tube of bright red lipstick tucked in the right pocket. It wasn’t until I pulled the load out of the hot dryer (!) that I noticed everything was pink and streaked, spotted and mottled with oily red splotches. Quelle horreur, n’est-ce pas? (French for holy fucking shit*.) The mere sight of my beloved pieces of vintage in a ruined state sent me into a tizzy, an emotion reinforced by article after article proclaiming red lipstick one of the most devilish stains to get out. (Something about the combination of heavy pigments and grease…)

Ever the optimist, I went to work immediately, experimenting with different methods recommended online. First I tried Spray ‘n’ Wash. Then I massaged Dawn dish soap on dress after dress. When that didn’t work, I sprayed the spots with hair spray, dabbing them desperately in between bouts with a towel. I washed everything again (and then again). But those stains? They didn’t budge. Not even a smidge. And so I gave up.

For an entire week, I mulled over my dumbness, considered ordering new cream tights and felt all-around silly to be so sad over wrecked dresses. I’d have to throw everything out, I thought. Refusing to let go of my pretties without one last attempt, I turned to my old stand-by, Oxiclean. I filled up my bath tub a third of the way with cold water, swirled in two big scoops of the magical powder and added my clothes. I pushed everything ’round for a bit, making sure it was all submerged and, with a hope and a prayer, let it stew for an entire afternoon.

By the time I checked in on things, the water was a murky reddish-brown and as I pulled the clothes out of the water, I couldn’t spot any streaks. I immediately, and, if I’m honest, gleefully, ran the soaked clothes through the wash and at the end of the cycle, found nary a trace of pink or single red splotch. My abiding love of Oxiclean was reinforced, and my feelings out luckl-essness vanished without a trace. Lessons learned? One: Check (then double-check) your pockets before loading the laundry. Two: When facing serious stains, always try Oxiclean first.

xoxo,

Meghan

P.S. Some other how-tos I’ve written you might find useful!

How to: Get Out Stains
How to: Remove Grease Pencil Markings
How to: Clean Vintage Luggage

Photo c/o: Dress for Victory

holiday how-to: quick-fix praline bars

Here’s a typical story from my life: Earlier this month I celebrated my 30th birthday party with a cookie swap at my favorite bar. The party was starting in half-an-hour, and, of course, I hadn’t had time to bake a single cookie. I knew it would be OK for me to skip the swap, but I still wanted to contribute a little something sweet. Into my brain, like a saving grace, popped this recipe…a holiday favorite of my Grandma Mary. The simple ingredients and unfussy proportions make it an easy one to recall by heart, and before I knew it, I was on my way out the door, tin of cookies in hand, with a minute or two to spare.

Before I share her recipe, please know one thing: No one’s going to “ooh” and “ahh” over how these bars look. They’re not showy, they’re simple. But whatever they lack in looks, they make up for (ten-fold) in taste. I figured I’d share the recipe with you this week, in case you too find yourself in a pinch and need to whip up something for a holiday party or potluck at the last minute.

grahambars

Grandma Mary’s Praline Bars

WHAT YOU’LL NEED

24 graham crackers (roughly two packs from an average-size box)
1/2 c. brown sugar
1/2 c. butter
1/2 t. vanilla
1 c. chopped pecans (or walnuts)

HOW TO MAKE

1. Preheat oven to 350°.

2. Arrange graham crackers on a foil-lined jelly roll pan.

3. Heat brown sugar and butter to boiling in a saucepan. Boil 1 minute, stirring constantly; remove from heat and quickly stir in the vanilla.

3. Working fast, spread the caramelized sugar on top of the crackers, as evenly as possible.

4. Sprinkle with chopped pecans.

5. Bake for 10 or so minutes, or until the caramel starts to bubble. Watch ’em carefully because they can scorch from just a minute or two of over-baking.

6. Let them cool and then break into squares or pieces.

This recipe doubles like a dream, which you might as well do because they take literally 15 minutes start-to-finish and you will want to gobble them all up as soon as they are cool.

xoxo,

Meghan

how to: thrift for records

This past July, my forever-long wish to own a stereo was granted. And ever since, I’ve been obsessed with hunting for records. Like anything else, looking for records at thrift stores, garage and estate sales can be a crap shoot. And an overwhelming one at that! Here are some super basic things I keep in mind when I’m out and about.

Before you you get your heart set on a specific record, check the condition of it first. See deep scratches, scuff marks, chips, cracks or gouges? Skip it. And be sure to inspect both sides too!

Make sure the record isn’t warped. (Warped records = distorted sound.) The easiest way to check is to hold the record up at eye level.

This is a total no-brainer, but while you have the record out, make sure that it matches the jacket. How sad would it be to go home thinking you’d found a rare Kitty Wells record, only to discover some crappy Billy Joel album inside.

Keep a running list of what you’re looking for. I have a friend who keeps her record wish list on Pinterest, I personally keep a running list in my notes on my phone. Either way, just like thrifting for clothes, I find it helpful to keep tabs of what I’m hunting for.

Take a chance! If you come across an intriguing cover, artist or song, and the record’s in good shape, where’s the harm in taking it home for a listen? I picked “Mustang Jazz,” a recording of the Southern Methodist University Marching Band out of a $1 bin at a record fair last month and it pumps me up every time I listen to it!

And last but not least, it’s OK to thrift records just because you like the cover art! Inspired by this Easy Record Cover Art DIY I spotted over the summer, I painted over a pin-up-y instrumental album cover. It sits on my vanity now and I love looking at it when I get ready each morning.

Some other good resources for learning more about thrifting records:
Thrift Store Vinyl: “Listening to used records so you don’t have to.”
The Thrift Store Record Collector: “Collecting records the cheap way.”
How to Clean Old Records

Do you have any tips for thrifting records you want to share? If so, let us hear ’em down below in comments!

xoxo,

Meghan

how to: make the best beans…ever!

Seeing as Memorial Day weekend marks the official start of summer, I thought today would be an appropriate time to share my favorite recipe for toting along to barbecues and potlucks: Susan Crawford’s “Best Beans…Ever!” This gem of a recipe’s been in my possession for 11 years now, passed on to me by Susan Crawford, mom to one of my dear high school friends, Jane. In the decade-plus since high school graduation (!!!), I’ve brought this dish to more barbecues than I can count, and it always nets mad compliments. Enough rambling though…here’s how to make it yourself.

WHAT YOU’LL NEED

1 lb. ground beef (or a little more), browned & drained
1 lb. bacon, browned & drained
1 large and 1 small can Busch’s Baked Beans (don’t drain)
1 can great northern beans (rinsed and drained)
1 can butter beans (don’t drain)
1 can spicy chili beans (don’t drain)
1 cup brown sugar
1 envelope Lipton Onion soup mix
1 cup barbecue sauce

HOW TO MAKE

Stir all ingredients together and bake at 350° (or 325°) for 1-1/2 hours, stirring occasionally.

So. Super. Easy.

Here’s what it looks like before baking.

In truth, it doesn’t look that much different when it’s done. I haven’t fiddled with the recipe much, seeing as it’s pretty perfect as is, BUT, I do want to give The Pioneer Woman’s bacon-topping technique a try on them some time. Bacon on top, bacon on the inside…bacon, bacon, bacon, bacon, bacon.

If you give this recipe a whirl over the course of the summer, please do tell me what you think!

xo,

Meghan

how to: make crepe paper bunting

It seems like before any of our Mighty Swell sales, Rae and I are always finishing something up at the 11th hour. Take, for example, this bunting, which Rae whipped up out of leftover crepe paper that was lying around from our sneak peek photo shoot. I’m pretty sure our first customers were walking through the door while Rae was finishing up hanging it! Since we raked in a ton of compliments on it over the course of the weekend, I thought I’d have Rae share the how-to so you can make your own. It’d be a cute addition to any shower, birthday party or backyard barbecue, right?

“What do you do with a lot of extra crepe paper from a photo backdrop? Make a bunting to hang in the windows, of course. This simple decor came together in a snap, and the crepe paper looks lovely when light shines through it.”—Rae

WHAT YOU’LL NEED

Rolls of crepe paper in several complementary colors—we ordered ours through Papermart.
Yarn (we used white)
A stapler and staples
A pair of scissors

HOW TO MAKE

1. Cut a 2-foot long piece of paper off of the roll and fold it in half length-wise. Cut down the fold, so now you have two pieces. Fold both of the pieces in half and lay them on top of each other. Now cut those pieces into 3-inch strips. Since I wasn’t measuring (and was in a hurry) my pieces were quite irregular, but I think this added to the charm of the bunting! Repeat with remaining colors so you have piles of strips in every color.

2. Grab your yarn and stapler and start making magic! Cut a piece of yarn the length you want your bunting to be. Slip a strip over the yarn and staple just under the yarn (this way your buntings can be moved and spaced out. If you want them fixed, staple your folded-over strip right onto the yarn.). Repeat with alternating colors and voila—you’re done!

Many thanks to Rae for walking us through it step-by-easy-step!

xo,

Meghan

P.S. Yesterday was a happy day for Karissah, winner of the Girls Got Rhythm fest ticket giveaway. There’s still time to get your tickets online; a limited number will be available at the door tonight and tomorrow.

how to: plan a thriftcation


I’m heading out on a weekend-long road trip with my beau tomorrow and I’ve got to be honest—instead of thinking about the fancy condo waitin’ for us (there’s a fireplace!) or all the fun things we’ll do and see, I’ve been busy daydreaming about the thrifts we’ll be hitting on the way! It’s a cheap, addictive thrill, exploring out-of-town thrift stores. But in order to maximize your time and not miss any gems, there’s a fair amount of preparation to do before you hit the road. Since this topic’s fresh on my mind, tonight I thought I’d quickly share a few do’s and don’ts for thriftcation planning.

DO

Ask around. Before I embark on any significant thrifting trip, I ask friends and acquaintances familiar with my destination for their suggestions. Don’t know anyone where you’re headed? That’s what Twitter is for! Another trick: Once you’re shopping around a small town thrift, ask an employee if there are any other stores in the area. More often than not, they’ll have great suggestions for you.

Do map out your route. Look to see what towns are on the way, and then look up to see what stores are easy to access from the highway. I have three must-stop-spots  between Minneapolis and my hometown that are within a painless five minutes of I-94. It just seems silly not to pop in when they’re right there!

Do update your apps. My most recent happy app discovery is the FREE Craigslist app. You can find details about the other iPhone apps I rely on when I’m out thrifting here.

Do keep your eyes open. Tons of estate sales, flea markets, garage sales and thrift store listings never find their way to the great world wide web. Gas-station signs, church bulletin boards, fliers on a telephone pole, ads in a community newspaper, sandwich board signs—look out for them all!

DON’T

Don’t blow your budget just because you’re out of town. It’s easy to lose your head when you’re on the road, trust me, I know. Avoid buyer’s remorse by staying true to your normal high standards for quality.

Don’t ignore who you’re thrifting with. My boyfriend has a saintly level of patience when it comes to my thrifting addiction, but even the most heaven-sent companions have their limits. Don’t wear your partner in crime out or you might not have a buddy for your next trip!

Don’t forget to eat. Stopping for breakfast at a greasy spoon diner or breaking for a milkshake along the way make thrifting road trips way more fun, not to mention more memorable. (Have I mentioned I just like to eat?)

I hope these dos and don’ts come in handy the next time you set out to plan a road trip. As for me, I’d better sign off so I can finish packing…our 5 a.m. departure time is going to roll around before I know it. I hope y’all have beautiful weekends!

xoxo,

Meghan

P.S. The photo above was taken last May at the Am Vets thrift store in Memphis, Tennessee, conveniently located just down the street from Graceland. :-)

how to: make tea-tin candles

I have this horrible tendency to hang on to way too many things, vintage tea tins being one of them. Which is why, in the course of the past week, my kitchen has been transformed into a veritable tea tin candle-making factory. If you, too, find yourself in a last-minute gift-making frenzy, here’s the how-to.

WHAT YOU’LL NEED

 Miscellaneous vintage tea tins—all of mine were from thrift stores, where you can find them easily, priced anywhere from 25 cents to $2.

 Microwavable soy wax—a four-pound box of microwavable soy wax ($10 at Michaels’s with a coupon) flakes made three average-sized tea tin candles.

Wicks of the extra-large variety (tea tins are pretty big in diameter, so you need a fat wick)—also available at Michael’s

Silicone chalk (for the tins that are not water-tight)

Wick holders (optional)

Newspaper (not optional)


HOW TO MAKE

1. Test your tins. Fill your tins with water to see if they leak. If you find some are not water-tight, seal the inside bottom rim, corners and sides with a silicon chalk. Do not be an eager beaver and skip this step! (Unless scraping a counter-full of wax off with an old credit card sounds fun—then by all means, skip away!) Follow chalk dry time instructions before moving on to step two.

2. Cover your work space with newspaper. (Again, please learn from my mistakes!) Center your wicks in the middle of your tins, making sure the bottom of the wick is flush with the base of the tin. I prefer to use wick holders to accomplish this. (If you don’t want to buy holders, you can dip the bottom of the wick in melted wax and then stick/center in the bottom of the tin.)

3. Melt your wax—fun! I melted four-plus cups at a time in my glass liquid measuring cup. Four cups took about 4-5 minutes to melt entirely, quite a bit longer than the box o’ wax predicted. If you have a thermometer to test the temperature (per package instructions), feel free to do so. I did not and everything worked out just fine.

4. Fill your tins on up with wax, but not all the way up, just close to it. Wicks will need adjusting after you pour the wax; this is totally normal. It’s also normal to run out of wax before a tin is full. Just get going on nuking the next batch right away and add it when it’s done.

5. Leave your tins alone for 45 minutes to an hour. Go watch a Golden Girls episode, read a magazine or take pictures of your cat…I’m not one to judge.

6. After an hour or so has passed, poke a few holes near the wick, going all the way to the bottom of the tin. This allows air to escape and makes for a more evenly topped candle. Top off your candles with a little more wax.

7. Leave them alone again, this time for a while. In a few hours time…boom. Tea tin candles are ready to go. Cozy on up and enjoy your handiwork.

xo,

Meghan

how to: bake pumpkin bread like tammy wynette

I’ve been thinking about Tammy Wynette a lot lately. Maybe it’s because I changed my work computer’s desktop to this last Friday, or maybe it’s because I’m saying her name 100 times a day, scolding my naughty kitty, her green-eyed namesake. So last week, when I came upon a couple handwritten recipes of hers on the Country Music Hall of Fame’s website (check them out here), I decided her pumpkin bread would be the perfect baking project. Like most of my go-to recipes, it’s pretty simple and pretty delicious.

WHAT YOU’LL NEED

3 1/2 cups self-rising flour
1 teaspoon nutmeg
1 teaspoon cinnamon
4 eggs, lightly beaten
3 1/2 cups sugar
2 1/2 cups mashed pumpkin
1 cup vegetable oil
1 teaspoon vanilla
1 cup chopped nuts

HOW TO MAKE (ACCORDING TO TAMMY)

Mix dry ingredients, blend other ingredients, except nuts. Mix alternately and add nuts. Grease two Bundt pans and fill. Bake approximately 45 minutes at 350 degrees.

Then try to fend off your cat and dog while you enjoy a slice and a glass of milk.

Obviously, I’d recommend baking these babies with Tammy on. I’ve been listening to her “Another Lonely Song” album a lot. Every song is a winner.

xo,

Meghan

Top photo c/o: country dreaming

how to: care for vintage pyrex

I love vintage Pyrex. Hardly a day in my life goes by when I don’t use a piece or two from my collection. Right at this minute, a bowl holds ripening nectarines on my kitchen counter and two covered casseroles are keeping a fruit salad and some leftovers fresh in my fridge. In the sink there’s a princess bowl from last night’s post-swimming popcorn snack. They’re adorable little workhorses, they are. Like chocolate lab puppies…what’s not to love? Through my years of thrifting Pyrex, I’ve picked up a few tricks and tips for the proper care of it…tips I’m more than happy to pass along to you!

First, some DON’Ts….

DON’T put your Pyrex pieces in the dishwasher. Just. Don’t.

DON’T clean the colored outside portion of your Pyrex with abrasives or cleansers with bleaching agents (ex. Comet, Bon Ami, some Soft Scrub versions, oven cleaner, etc.). The white insides can handle a tougher clean, but the colored parts cannot.

DON’T stack wet Pyrex. It can stick together in the most terrible fashion and pulling pieces apart can cause a piece (or worse, both!) to break. Sadness will ensue, believe you me.

Some DO’s….

DO buy a can of Bar Keeper’s Friend and a pack of Mr. Clean Magic Erasers. Both are multi-tasking wonder products that are both bound to be your new BFFs in the kitchen.

DO try cleaning your Pyrex in warm, soapy water with a non-abrasive sponge before moving onto any other method.

DO use Bar Keeper’s Friend to get out stains on the inside or non-colored parts of your Pyrex. Sprinkle a bit of the powder on a wet cloth or sponge, then rub it in gently. Let the paste sit for up to a minute before rinsing off with warm water.

DO use a Magic Eraser to safely remove baked-on crud or stains from the colored parts of your Pyrex. Be gentle! Not a lot of elbow grease is necessary.

DO test (in an inconspicuous spot!) any other types of cleaners, chemicals or abrasives before going all out.

DO clean your Pyrex regularly. It’s amazing how much dust and grease and other nasties will find their way to the bottom of your bowls, casseroles, etc. Give pieces that haven’t been used in a while a little soap & water bath.

Curious about the history of Pyrex, the value of collectible vintage pieces or about what a certain pattern is calledPyrex Love has everything you need and then some!

If you liked this how-to, check out these…how-to get out stains, how-to clean vintage luggage and how-to clean thrifted jewelry.

I hope you all have wonderful days!

xo,

Meghan